Octopus Machine construction photos
This project was the first to take advantage of the awesome new Nervous Squirrel CNC router

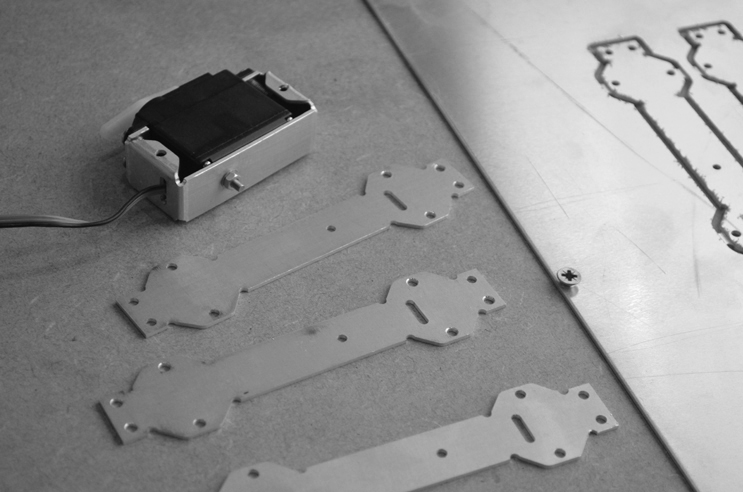
These components fold up to create a cradle for each servo. The sculpture had 15 DC motors with gearboxes, and 14 RC-type servo motors to move the arms.
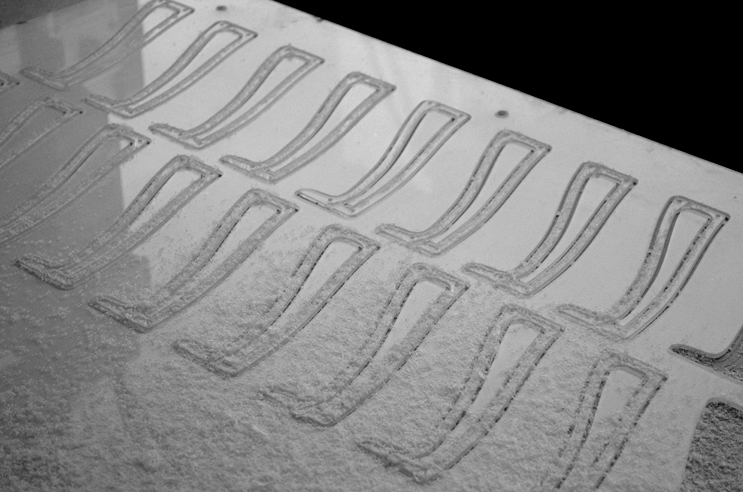
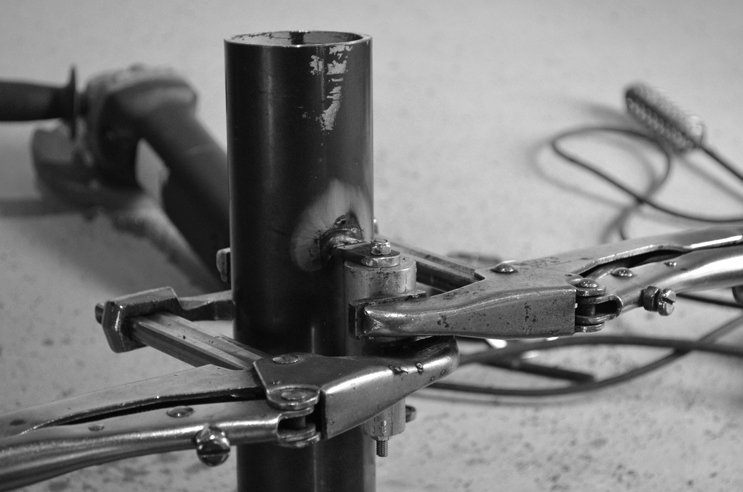
Welding jigs
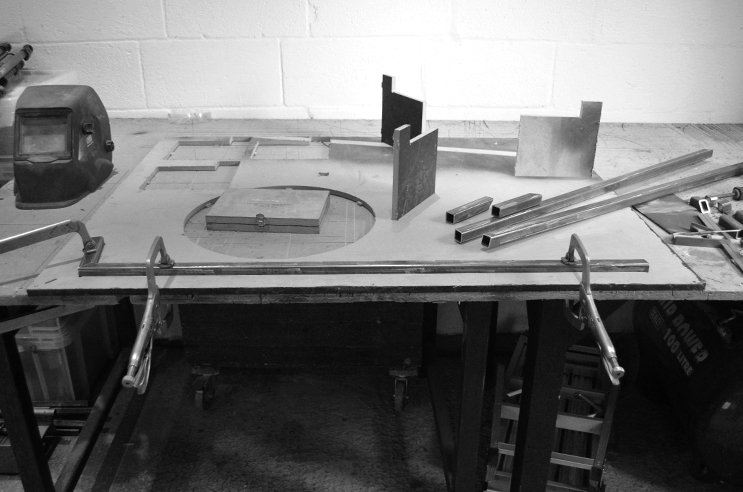
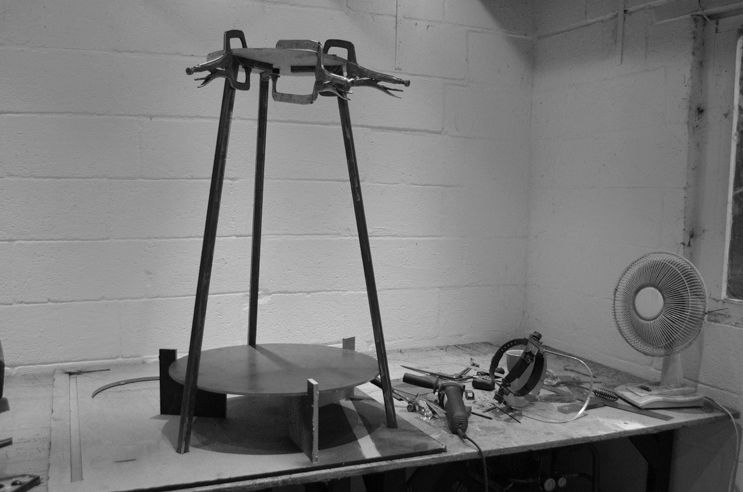
The components of the stand drop into slots machined in the MDF
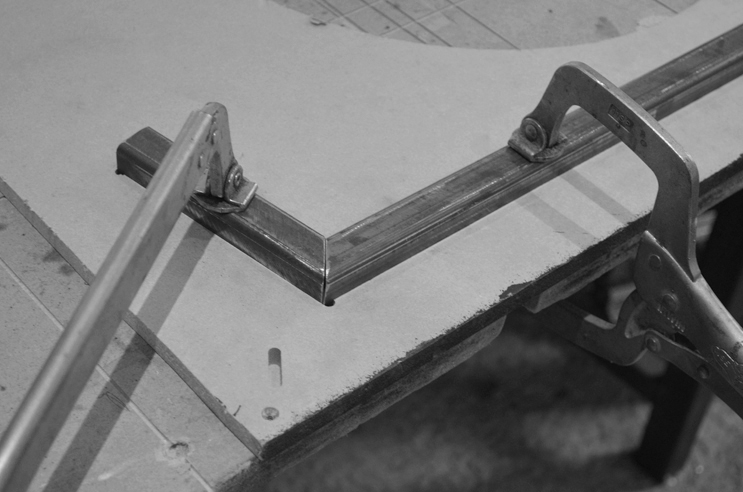
These can then be welded with high accuracy
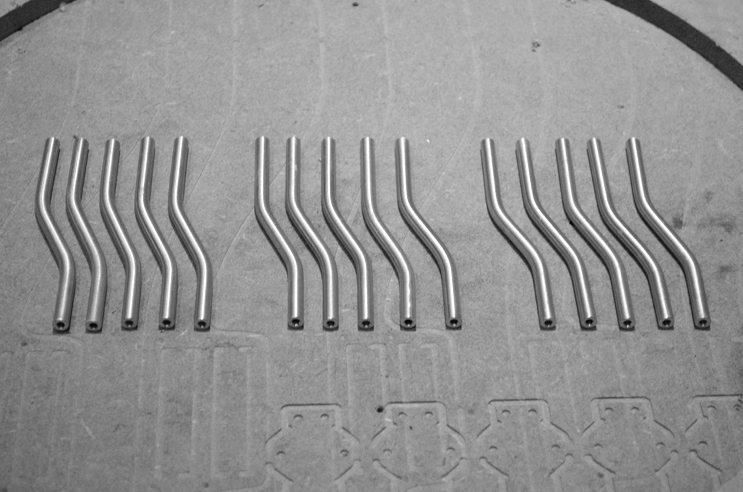
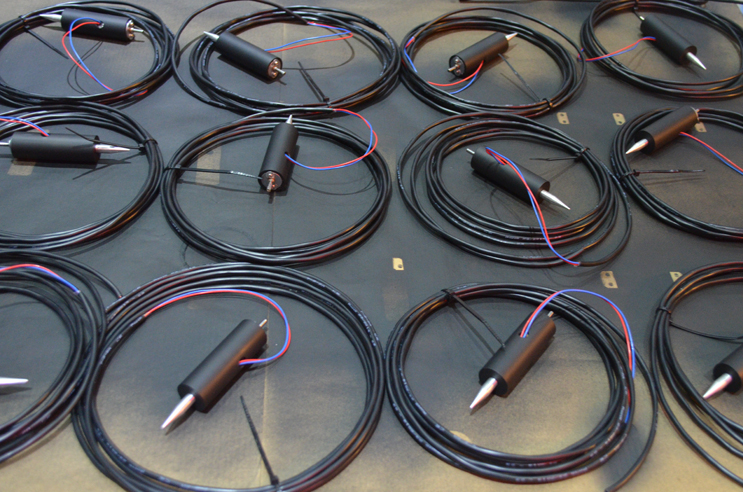
1/4" diameter aluminium octopus support shafts, drilled one end, polished, formed to fit jig with a mini pipe bender
Polycarbonate inserts to fit in centre of arms
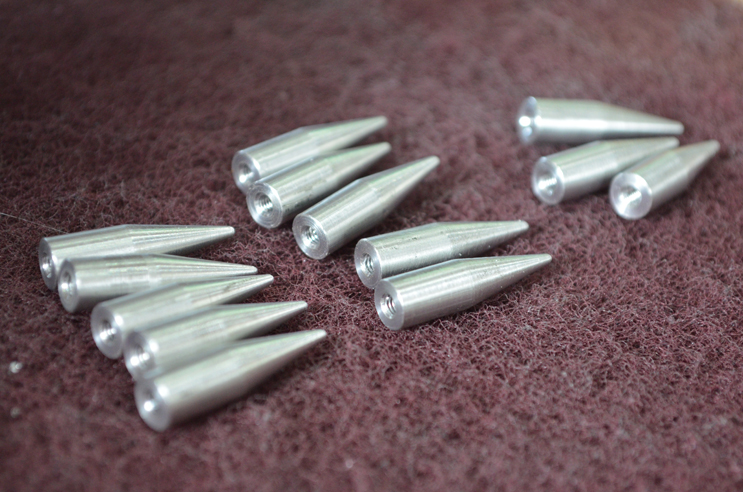
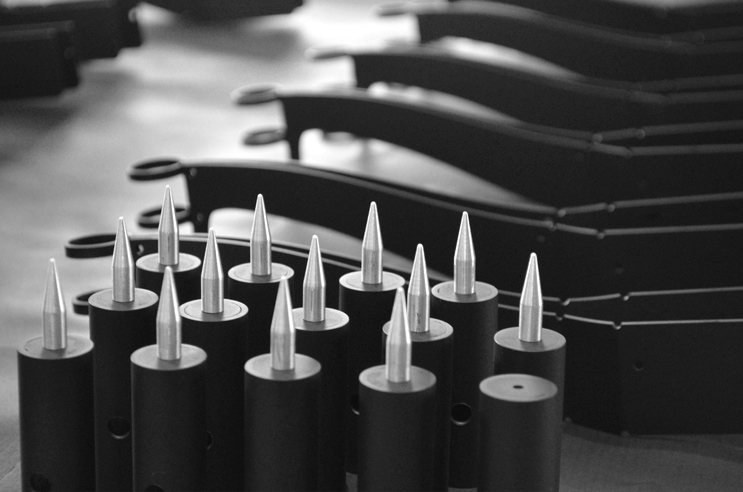
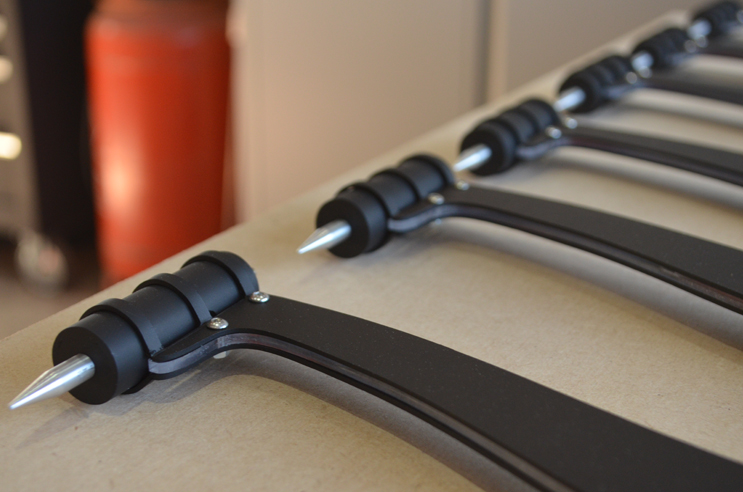
Aluminium point details. The weird red moss is actually a 3M abrasive Scotch-Brite™ pad, good for polishing aluminium.
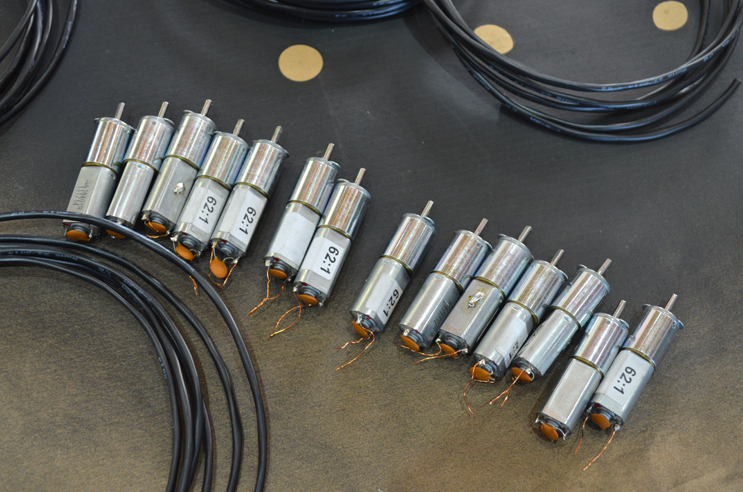
The DC motors. The labels refer to the 62:1 gearing ratio of the gearbox.
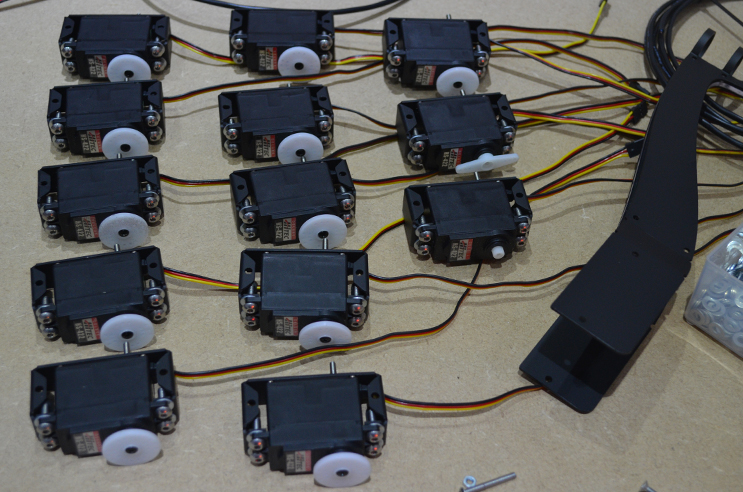
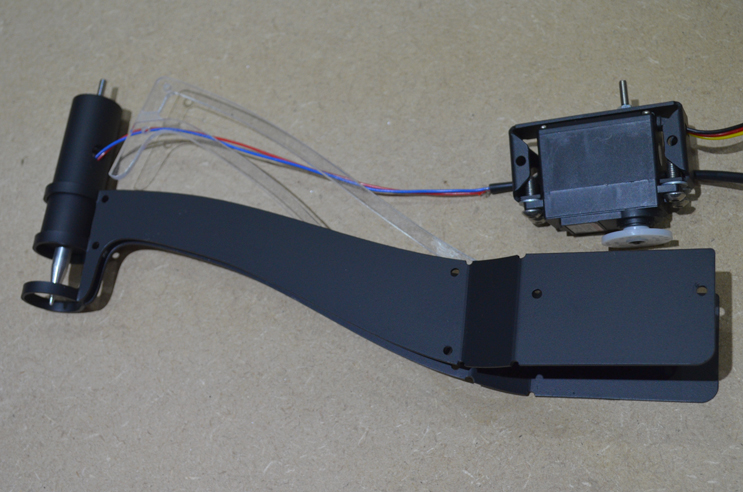
Servo motors mounted in their cradles
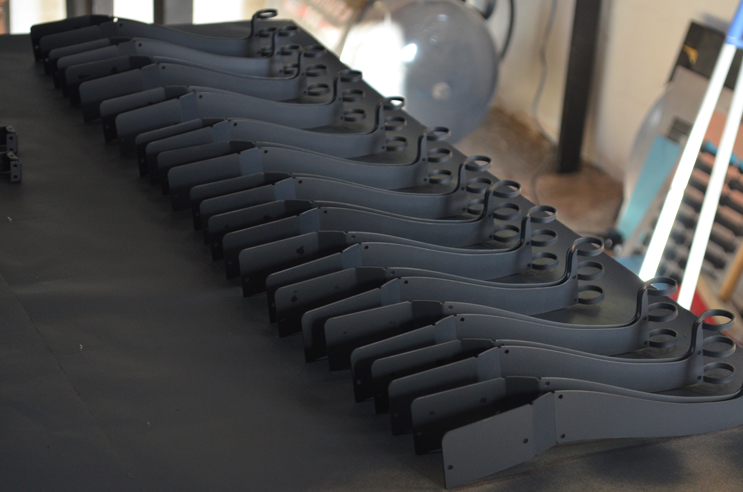
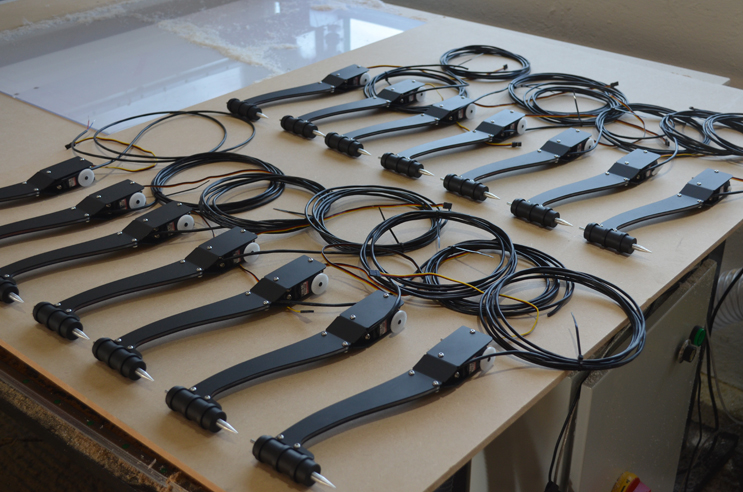
Arms sprayed
Arm components: DC motor in housing, 1.6mm aluminium structure, 3mm polycarbonate insert with notches for wires to pass through, servo motor in cradle to provide pivoting movement.
14 completed arms
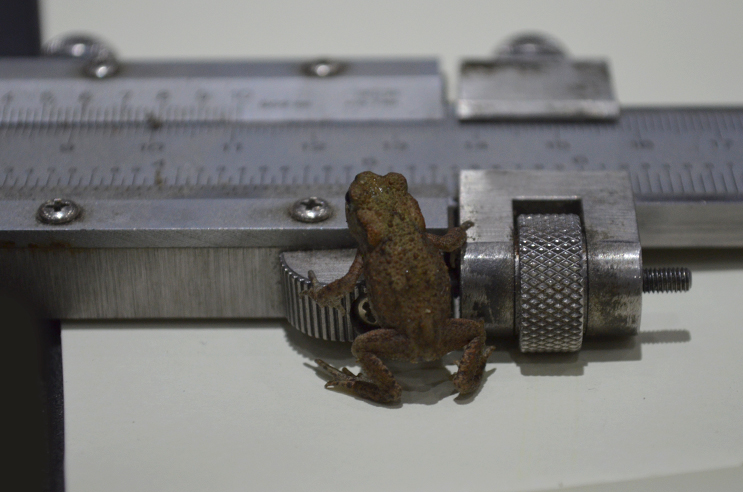
Frog trying to steal my vernier calipers
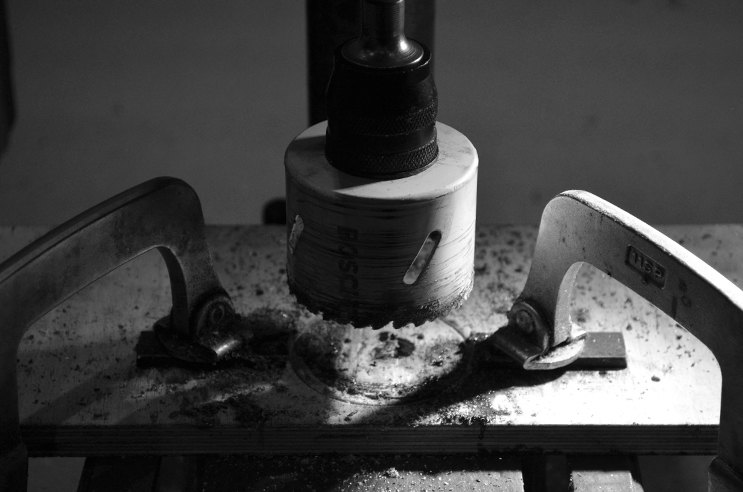
Cutting out a section of 16mm strip with a hole saw, to leave behind curves that will fit snugly to the diameter of the central pillar
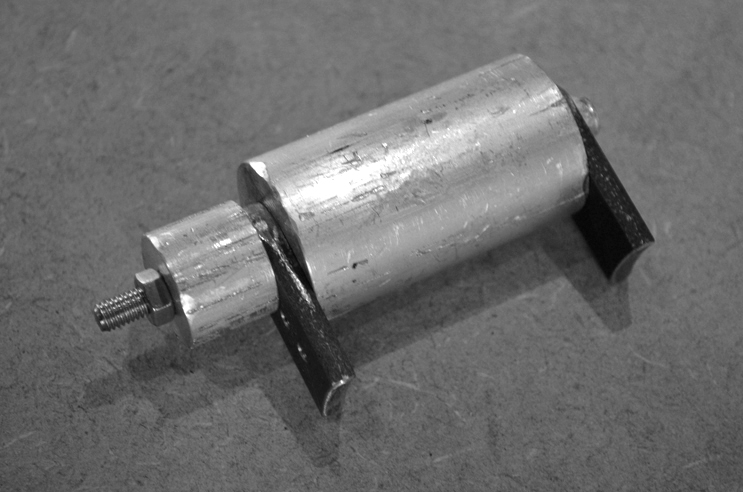
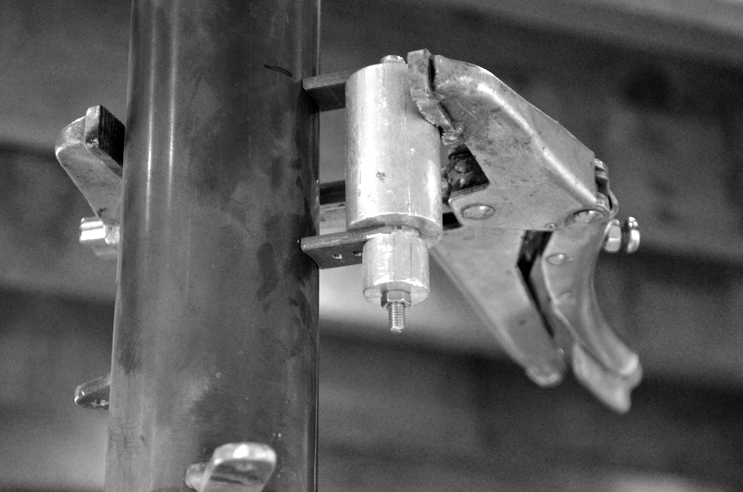
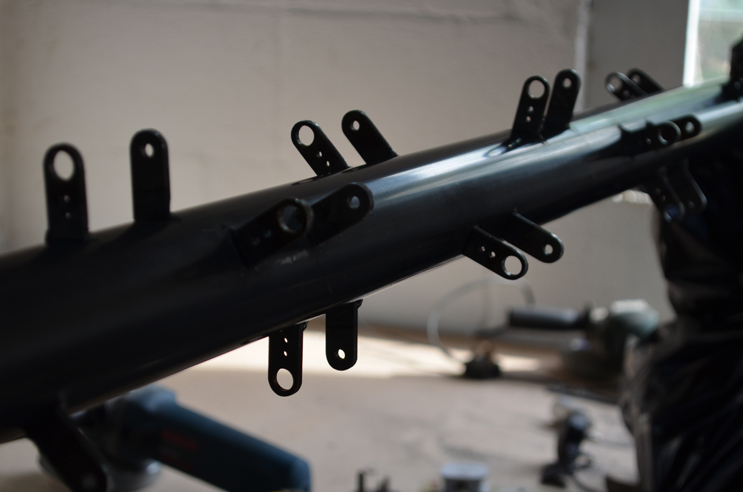
2 part jig to align tabs for welding
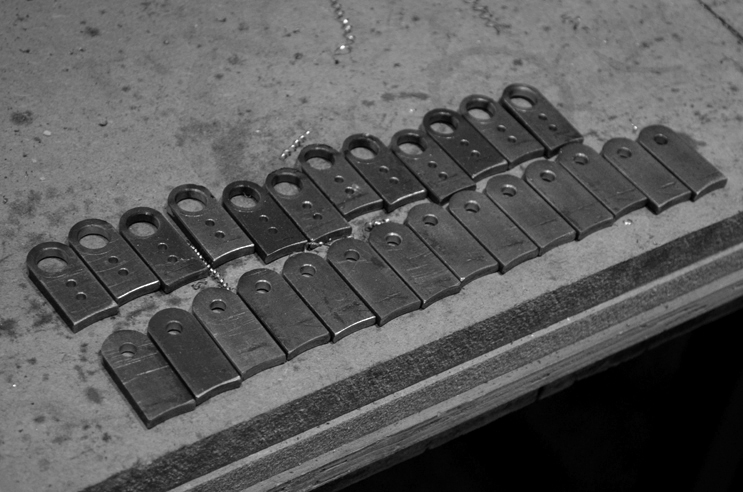
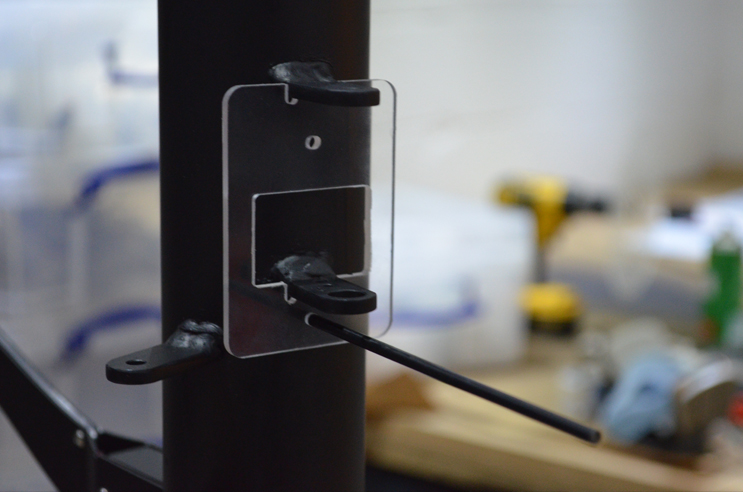
Jig for marking out cable holes for drilling
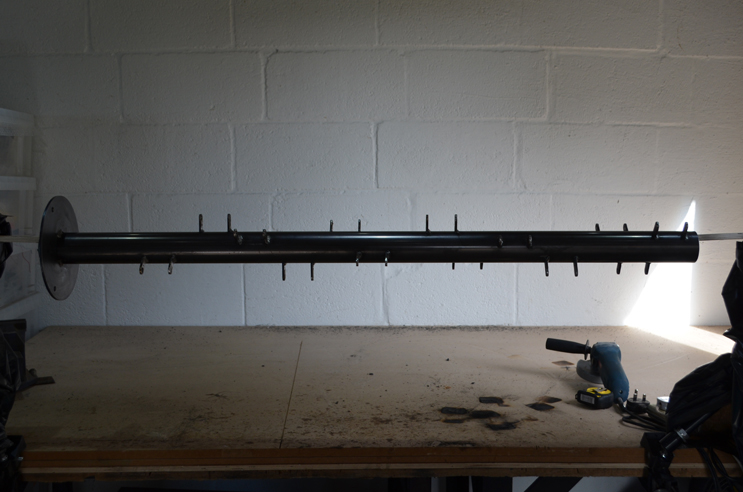
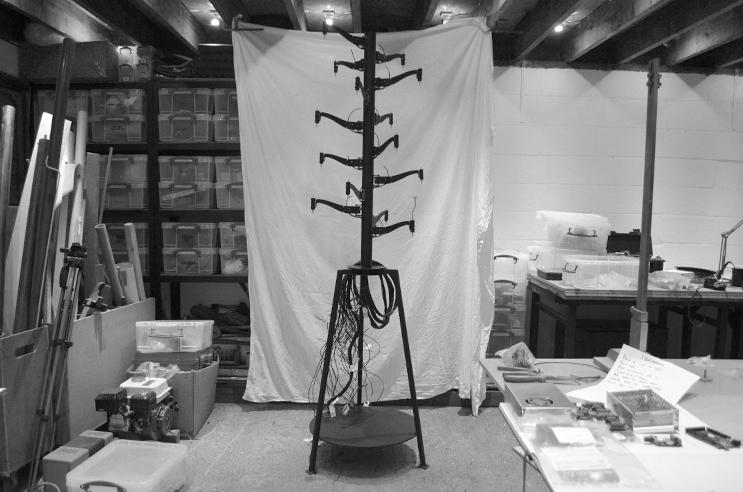
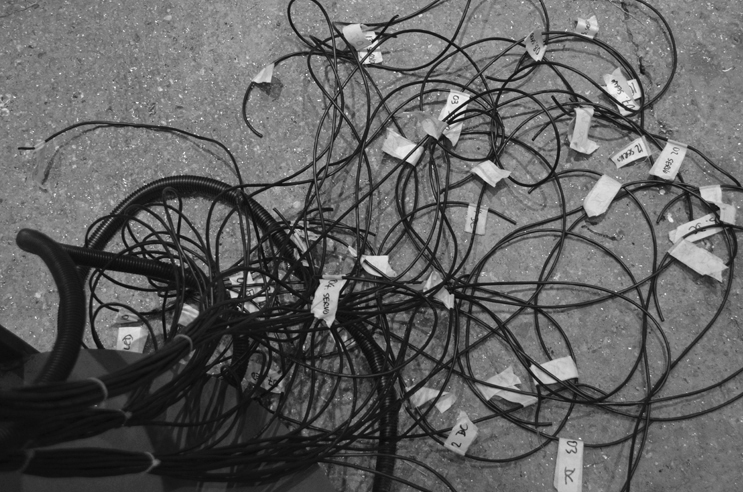
Feeding the cables through the stand took a long time
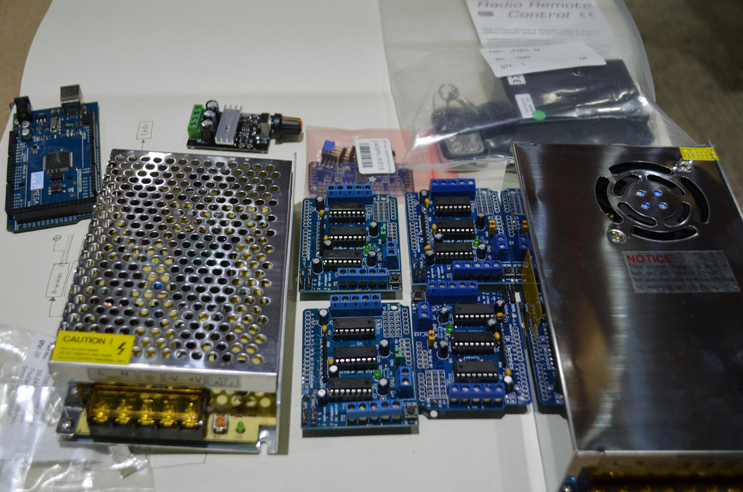
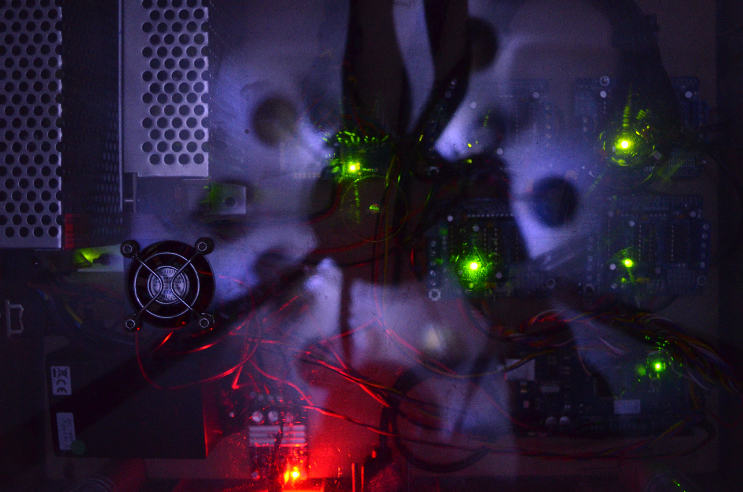
Electronics, including an Arduino Mega, Adafruit servo driver, 4 no. quad H-bridge shields, PWM dimmer control, RC relay system and 2 no. power supplies
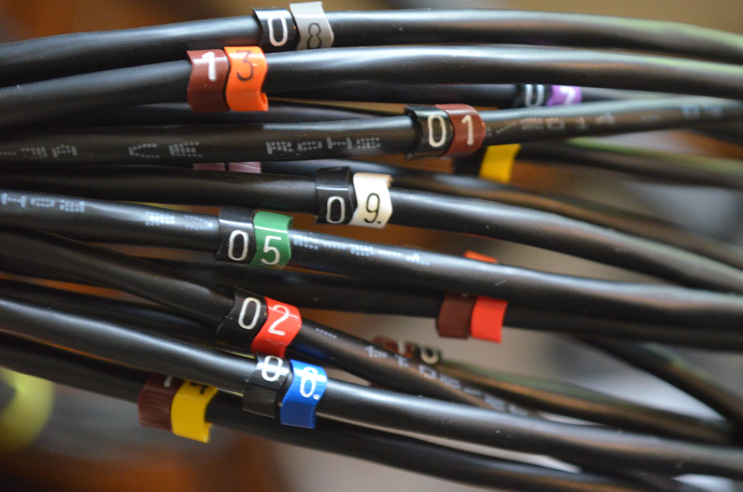
I'm a big fan of cable management and labelling systems - these little numbers are great...
Completed control box
Back to main octopus machine page