Cross Stitch Synth - Making of the casings
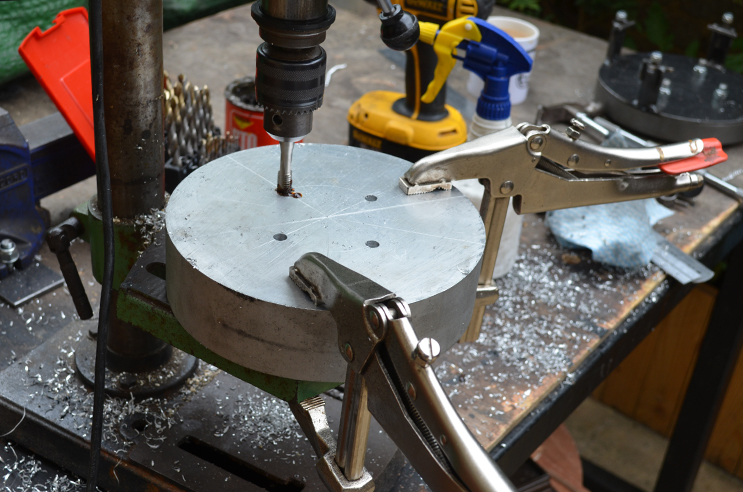
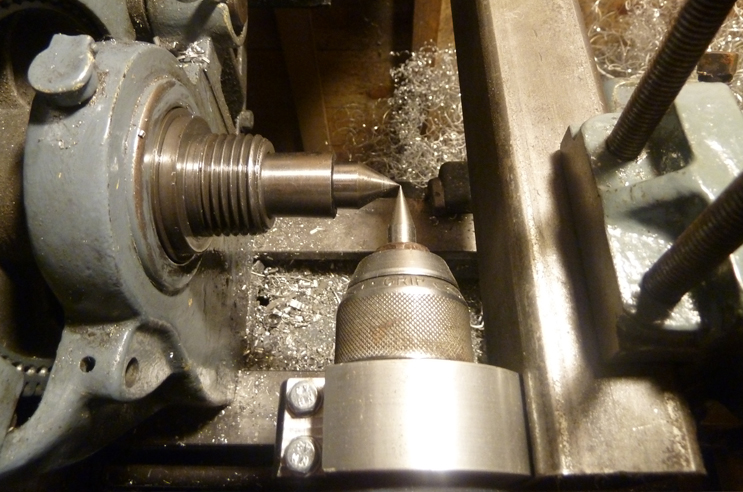
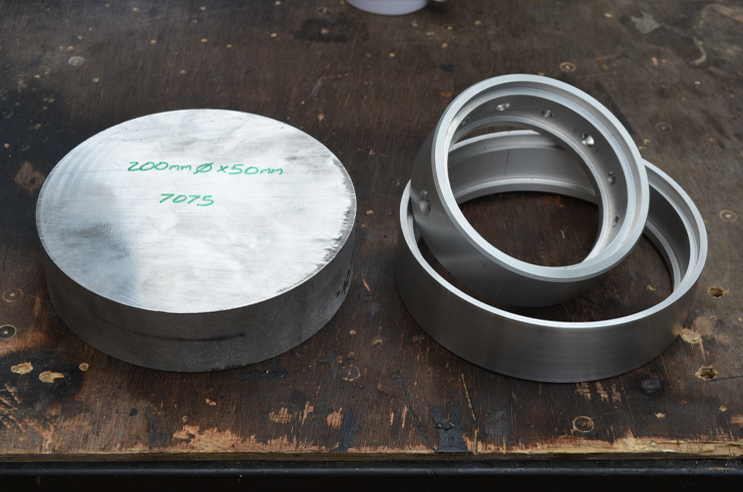
The casings were based around two different size cross stitch hoops - 5 & 7 inch. Thankfully it turned out that two rings could be made out of each aluminium billet. Four holes were drilled and tapped, so that the aluminium could be bolted to a faceplate from the rear. Obviously the drill isn't turned on here - it's just a good idea to start the thread by hand with the tap in the chuck to keep it straight. The clamps are Bessey GRZ10s - highly recommended! One day I'll make a web page about all of my favourite clamps.
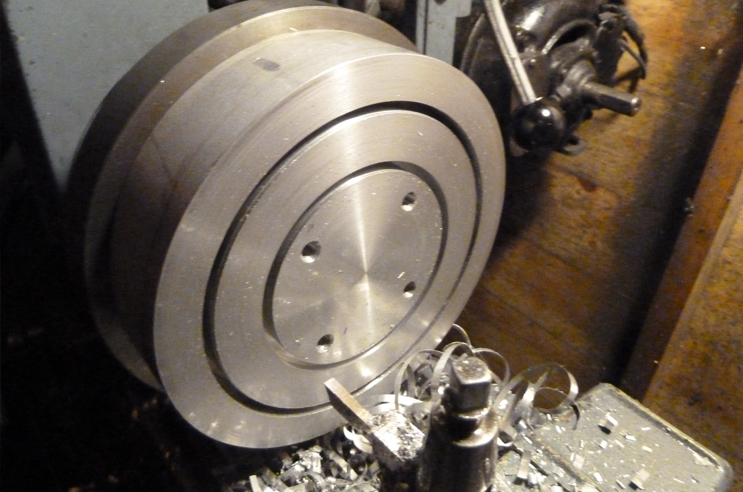
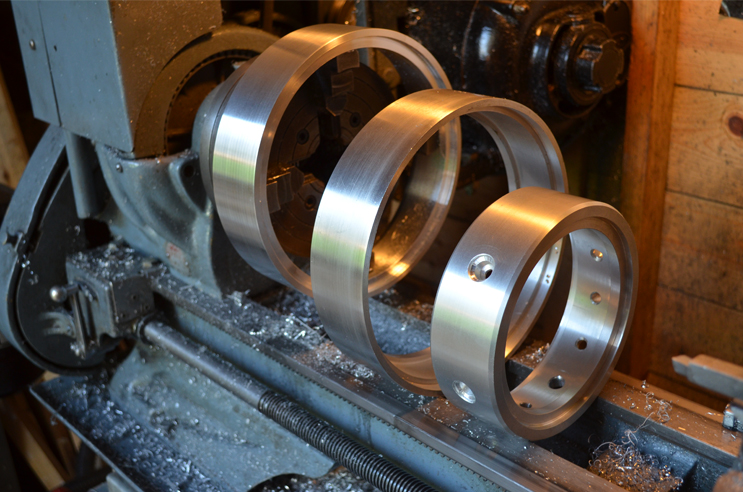
Two parting off tools were specially ground to fit the radii of the circular cutting paths. The rings were separated by cutting half way through one face, then reversing for a second cut.
he photo below shows a collet being made in the vertical slide on the Atlas 10 lathe.
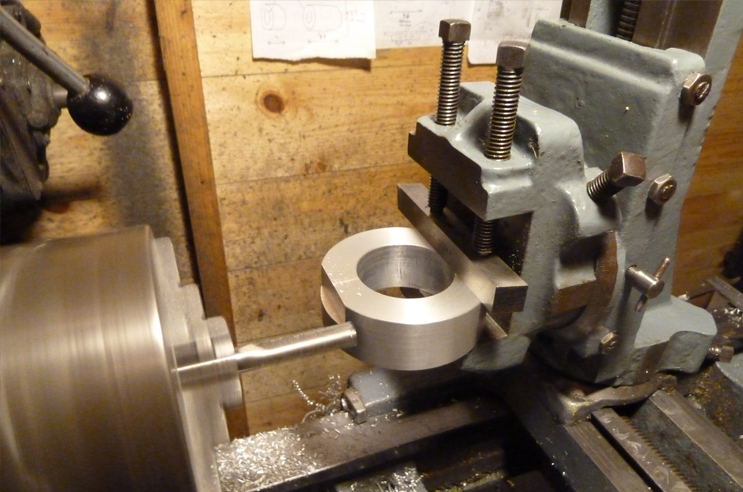
Here the collet is being slotted, so that it can hold an electric drill.
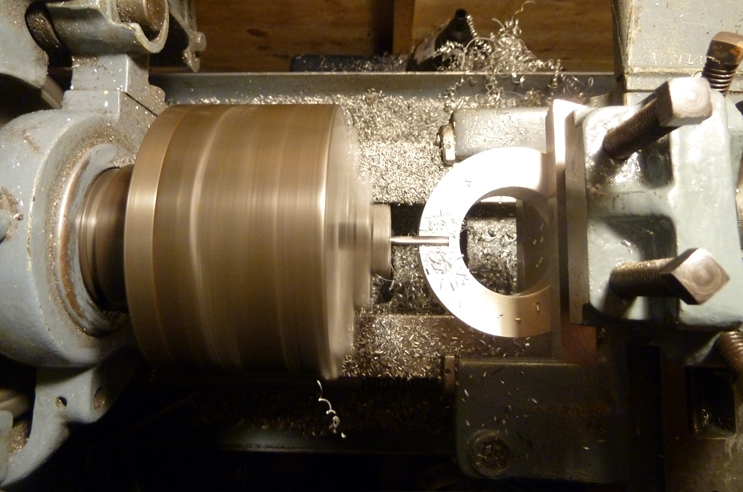
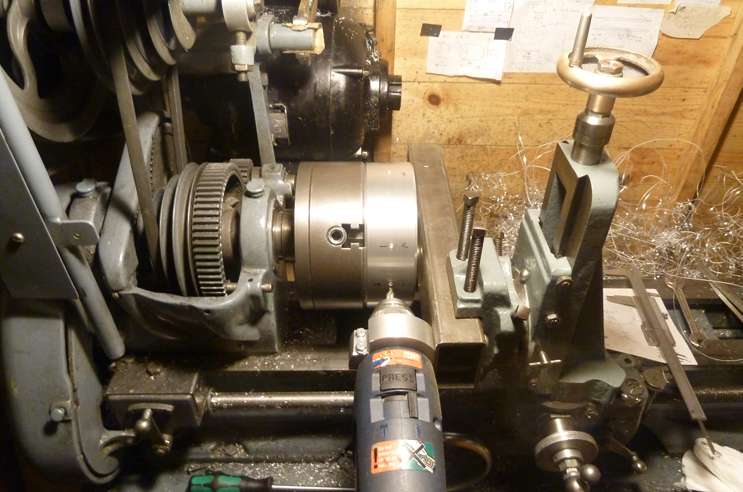
Here is the drill, held by the collet, attached to some box section held in the vertical slide. The centres are being lined up by using pointy things.
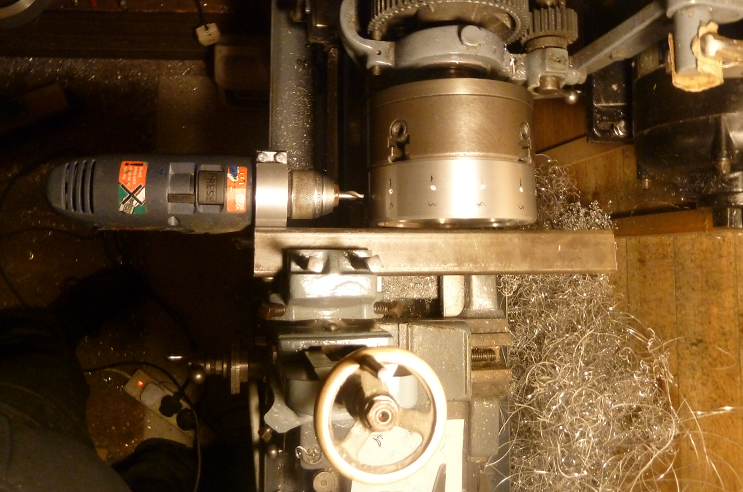
The first ring is drilled around the circumference by winding the cross slide in and out. The hole positions are determined by the indentations usefully built into the bull wheel, which has a corresponding pin that allows it to be used as a simple dividing head.
Another view of the drill setup - this worked surprisingly well in the end.
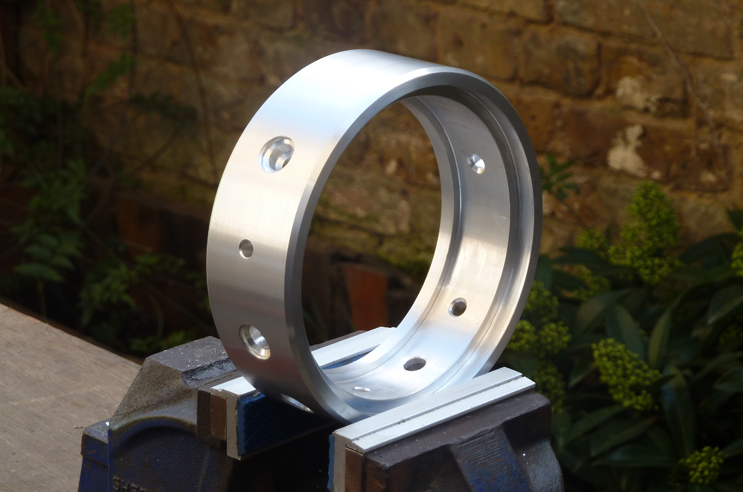
The first casing drilled and ready for potentiometers, sockets etc. to be added around the perimeter.
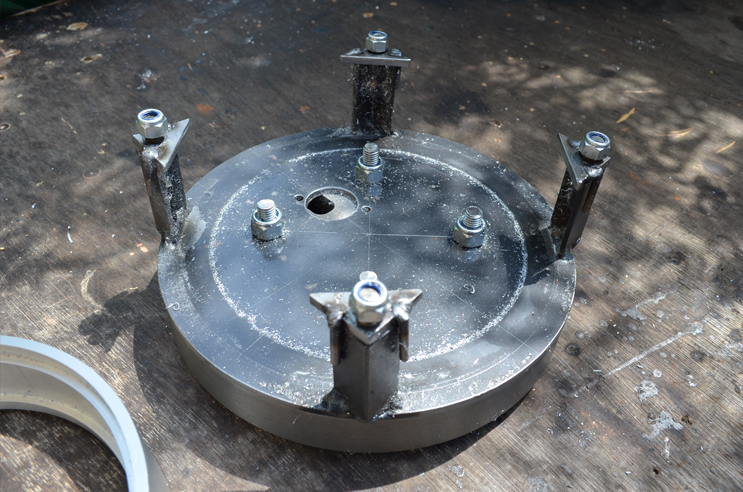
For the larger rings I had to make this rather elaborate jig to hold them from the outside. This was because my four jaw chuck wasn't big enough, and if it was there still wouldn't be room for the jaws to clear, so a lower profile solution was needed.
Before and after...
Shiny...
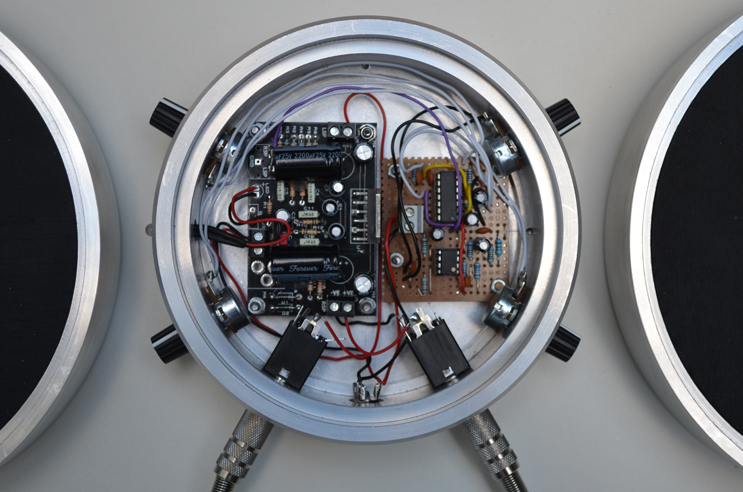
With electronics added. Get in touch if you want a custom sound-generating device!
Back to cross stitch synth page